

Today we will see how to install Java 19.0.2 (this is the last version of Java, as of the time of writing this article) on Linux. Specifically, Ubuntu 20.04.2 LTS Distribution, meaning the Java Development Kit (JDK).
1. Find the Download Link
The question “How to install Java on Linux”, is asked by every Java Developer who is going to work on a Linux Distribution. We first need to know the download URL of Java 19.0.2; we can find that by visiting Java Downloads | Oracle page. Then, we will choose the Linux tab and find the download URL, in row x64 Compressed Archive (Download Link).
2. Install curl Package
You need to verify that you have the curl command installed. You can install it by running the following command:
~$ sudo apt install curl
3. Download Java
Now that you have installed the curl package and you have the download link, you can run the following:
~$ curl -O https://download.oracle.com/java/19/latest/jdk-19_linux-x64_bin.tar.gz
4. Extract the Downloaded Archive
Now that the download is completed, you can extract it by running the following:
~$ tar -xvf jdk-19_linux-x64_bin.tar.gz
This will create a new folder “jdk-19.0.2“
5. Move the Folder Under /opt
Now the next step is to move the aforementioned folder by executing the following:
~$ sudo mv jdk-19.0.2 /opt/jdk-19.0.2
6. Temporary Set the Environmental Variable
This is needed in order to be able to execute commands like java or javac, in any path.
Also, we will set the JAVA_HOME variable as this is will be used to specify the Java version currently running in your system.
To set the JAVA_HOME variable, you must run the following command:
~$ export JAVA_HOME=/opt/jdk-19.0.2
Then, you have to add it to PATH variable.
~$ export PATH=$PATH:$JAVA_HOME/bin
To check that everything is done correctly, you should run:
~$ java --version
The expected output should be the following:
java 19.0.2 2023-01-17
Java(TM) SE Runtime Environment (build 19.0.2+7-44)
Java HotSpot(TM) 64-Bit Server VM (build 19.0.2+7-44, mixed mode, sharing)
Also, you can print the value of JAVA_HOME, to verify that it has the right path.
~$ echo $JAVA_HOME
/opt/jdk-19.0.2
If for any reason you’d like to downgrade or upgrade the Java version, you just change the JAVA_HOME variable.
7. Permanently Set Environmental Variables
The problem with running the commands like in the previous section is that every time you log on, you have to re-run them in order to use java.
To permanently set JAVA_HOME and PATH variables, you have to open a terminal and run the following:
~$ gedit .bashrc
This will open the .bashrc file to edit it, as shown in the image below:
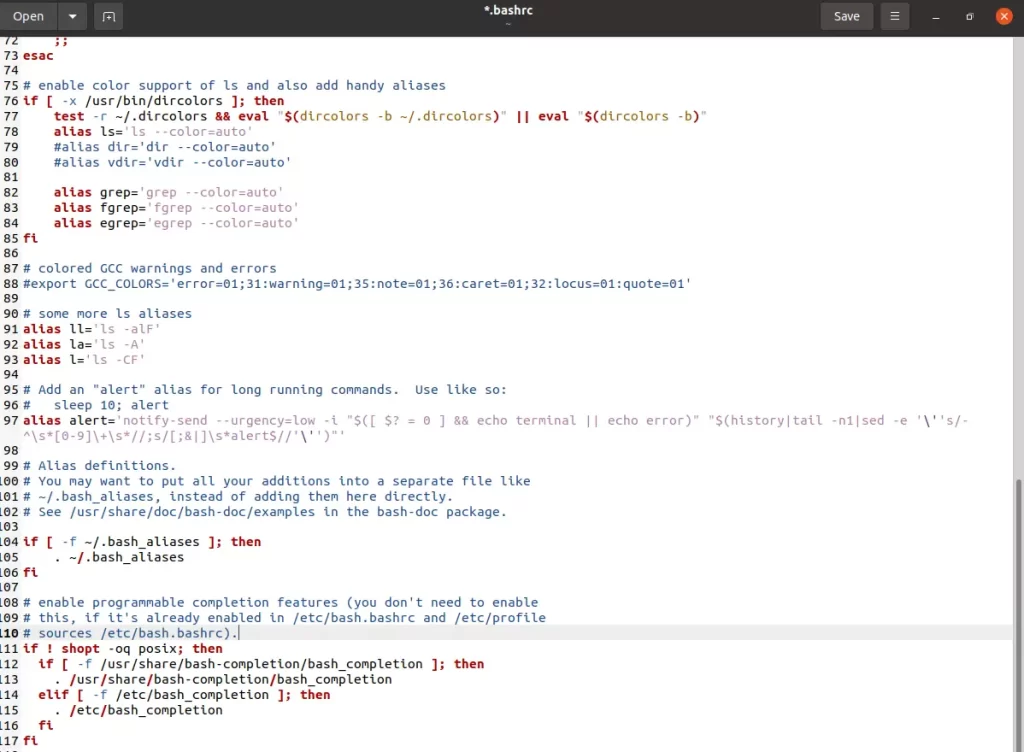
.bashrcNow the only thing you have to do is to add at the end of the file, these 2 lines:
export JAVA_HOME=/opt/jdk-19.0.2
export PATH=$PATH:$JAVA_HOME/bin
Then, you should be able to run java on the Linux platform without any extra effort, every time you log in.
8. Conclusion
Now you have successfully installed Java 19.0.2 on your Linux PC.