

In this article, we’ll go through what @Autowired annotation does in Spring Boot and how to use it.
1. What is @Autowired in Spring
@Autowired annotation allows you to inject a bean to a class (This is called Dependency Injection or DI for short). Additionally, @Autowired can be applied to each of the following:
- A Constructor (
@Autowiredis optional since Spring 4.2) - A Setter
- A Field
- Parameter of a method
Constructor injection is much preferred for the following reasons:
- Ensures that the reference of the bean will not change by setting it as final.
- It is clear which mandatory dependencies each class has.
- Enhances loose coupling
Furthermore, @Autowired has only one attribute, and that’s boolean required which defaults to true. We’ll see why and when we might need to set it to false
2. Setting up the project
First of all, you need to have Java installed, if you do not you can go through these tutorials depending on the OS your machine runs:
- Linux users: Install Java on Linux
- macOs users: Install Java on macOS
- Windows users: Install Java on Windows
For this tutorial, we are using the IntelliJ IDEA Community edition which you can download here.
If you are not using this IDE, you also need to download Maven here.
The next step is to visit Spring initializr and generate a project according to these settings shown in the image:
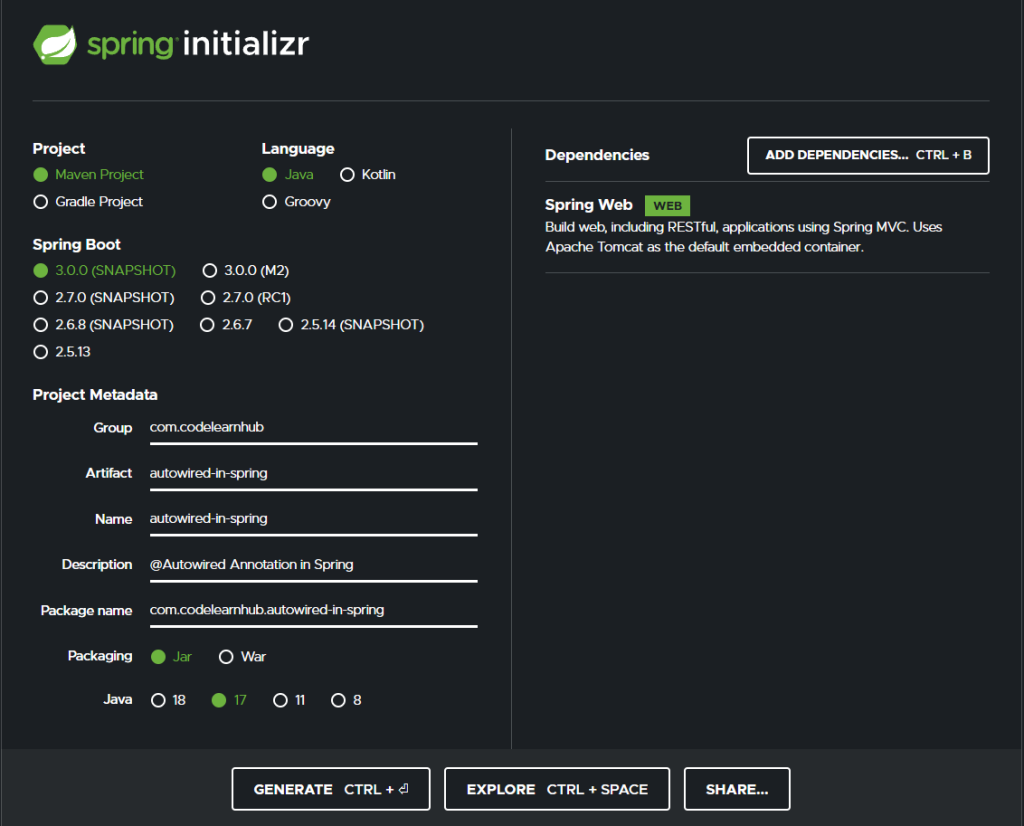
After having chosen the above options, press the GENERATE button, and a new spring boot project will be downloaded for you. Then you have to unzip the compressed archive and open the folder with your favorite IDE.
3. Creating the Service
Let’s create a dummy WordService under com.codelearnhub.autowiredinspring.service package as shown below:
package com.codelearnhub.autowiredinspring.service;

import org.springframework.stereotype.Service;
import java.util.Arrays;
import java.util.List;

@Service
public class WordService {

    private final List<String> words = Arrays.asList("Code", "Learn", "Hub");

    public List<String> getAllWords(){
        return words;
    }
}
Here we just created a bean using the @Service annotation which will later be injected using @Autowired annotation.
4. Using @Autowired on Constructor
Now let’s create a new class WordConstructorDIController under com.codelearnhub.autowiredinspring.controller package:
package com.codelearnhub.autowiredinspring.controller;

import com.codelearnhub.autowiredinspring.service.WordService;
import org.springframework.web.bind.annotation.GetMapping;
import org.springframework.web.bind.annotation.RestController;

import java.util.List;

@RestController
public class WordConstructorDIController {

    private final WordService wordService;

    // It works with or without @Autowired
    public WordConstructorDIController(WordService wordService) {
        this.wordService = wordService;
    }

    @GetMapping("/words")
    public List<String> getAll(){
        return wordService.getAllWords();
    }
}
Here we just created a Rest Controller and injected the WordService dependency by creating a member wordservice that is both private (since we do not need to be accessed anywhere but in this class) and final (since we do not want this object to be changed at all.
Again, note that in this special case, which is @Autowired applied to a constructor, we actually do not need this annotation since Spring 4.2.
As you can observe it is as clear as possible which dependencies this class has. Additionally, if we wanted to add another service to this class, let’s say a LetterService, we would add only the following:
private final WordService wordService;
private final LetterService letterService;
// It works with or without @Autowired
public WordConstructorDIController(WordService wordService, LetterService letterService) {
    this.wordService = wordService;
    this.letterService = letterService;
}
5. Using @Autowired on Setter
Before we create a class that will use @Autowired in a setter level, head to application.properties and add the following line:
spring.profiles.active=setter
Now head back to the controller that we previously created and add this line after @RestController:
@Profile("constructor")This will allow us to not get errors even though 2 beans methods will exist with the same mapping.
Now create another class after the same package, as shown below:
package com.codelearnhub.autowiredinspring.controller;

import com.codelearnhub.autowiredinspring.service.WordService;
import org.springframework.beans.factory.annotation.Autowired;
import org.springframework.context.annotation.Primary;
import org.springframework.context.annotation.Profile;
import org.springframework.web.bind.annotation.GetMapping;
import org.springframework.web.bind.annotation.RestController;

import java.util.List;

@RestController
@Profile("setter")
public class WordSetterDIController {

    private WordService wordService;

    @Autowired
    public void setWordService(WordService wordService) {
        this.wordService = wordService;
    }

    @GetMapping("/words")
    public List<String> getAll(){
        return wordService.getAllWords();
    }
}
First of all, since we will use setters to inject our service bean, we are unable to set the bean as final (contrary to constructor injection). Also, now we are obliged to use the @Autowired annotation otherwise the object would be null.
6. Using @Autowired on Field
Before we create a class that will use @Autowired at a field level, head to application.properties and change the following line:
spring.profiles.active=field
Now create another class after the same package, as shown below:
package com.codelearnhub.autowiredinspring.controller;

import com.codelearnhub.autowiredinspring.service.WordService;
import org.springframework.beans.factory.annotation.Autowired;
import org.springframework.context.annotation.Profile;
import org.springframework.web.bind.annotation.GetMapping;
import org.springframework.web.bind.annotation.RestController;

import java.util.List;

@RestController
@Profile("field")
public class WordFieldDIController {

    @Autowired
    private WordService wordService;

    @GetMapping("/words")
    public List<String> getAll(){
        return wordService.getAllWords();
    }
}
As you can observe, in that case, we just add @Autowired on top of the bean that we want to inject. As before, we cannot set the bean as final, since we do not have any constructors and there is no way to ensure that this variable won’t change reference.
7. @Autowired in Method Parameters and Optional Autowiring
You can also use @Autowired in method parameters; first, change the line of application.properties to this:
spring.profiles.active=parameter
Then create a LetterService class under service package as shown below:
package com.codelearnhub.autowiredinspring.service;

import java.util.Arrays;
import java.util.List;

public class LetterService {

    private final List<Character> letters = Arrays.asList('C', 'L', 'H');

    public List<Character> getAllLetters(){
        return letters;
    }

}
We won’t use any annotations for this class for now.
Then, create the following class under the controller package:
package com.codelearnhub.autowiredinspring.controller;

import com.codelearnhub.autowiredinspring.service.LetterService;
import com.codelearnhub.autowiredinspring.service.WordService;
import org.springframework.context.annotation.Profile;
import org.springframework.web.bind.annotation.GetMapping;
import org.springframework.web.bind.annotation.RestController;

import java.util.List;

@RestController
@Profile("parameter")
public class WordParameterController {

    private final WordService wordService;
    private LetterService letterService;

    public WordParameterController(WordService wordService,
                                   LetterService letterService
    ) {
        this.wordService = wordService;
        this.letterService = letterService;
    }

    @GetMapping("/words")
    public List<String> getAll(){
        return wordService.getAllWords();
    }
}
As you can observe, we intend to have a mandatory wordService field and an optional field letterService. If we run the app, we’ll get an error:
Consider defining a bean of type 'com.codelearnhub.autowiredinspring.service.LetterService' in your configuration.
This is expected as we have not added the @Service to the LetterService class. However, you could actually make this bean optional, just by changing the constructor as shown below:
public WordParameterController(WordService wordService,
                               @Autowired(required = false) LetterService letterService
) {
    this.wordService = wordService;
    this.letterService = letterService;
}
Now if we run again the app, we won’t get any errors, even though we don’t have any bean of type LetterService, because we added the @Autowired(required = false).
This means that if for any reason the bean could not instantiate, the application will not fail.
Now if we head back to LetterService and add the @Service annotation on top, we would get our letterService bean initialized as expected.
8. Conclusion
By now you should know exactly how @Autowired annotation works and how you could optionally autowire a bean. You can find the source code on our GitHub page.